Sandbox Mode
How To Install A Skyseal Powered Opening Flat Glass Roof Light On A Builder’s Upstand
Step by Step Installation Guide
-
Upstand Preparation

Prepare the weathered upstand in accordance with the requirements on Page 1 of our Installation Guide.
Install roof covering to cover side and top of insulated upstand in accordance with manufacturer's installation recommendations. Ensure the top surface is level with no excessive buildup of layers.
-
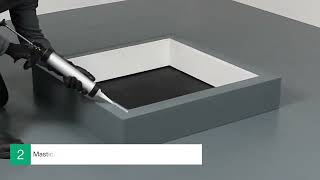
Apply Mastic/Silicone

Apply mastic/silicone around the top inside edge of the upstand.
-
Feed Power Cable Though Roof Cavity

Open the hinged frame. Ensure kerb is supported when open to avoid damage.
Feed the power cable through the roof cavity, while ensuring the cable is not crushed or damaged.
-
Place Kerb onto Upstand

Ensuring the hinges are facing upslope, place the kerb squarely onto upstand.
-
Fix Kerb To Upstand

Fix kerb to upstand using 125mm kerb fasteners. For front kerb fasteners, fix ONLY through pre-drilled holes to avoid electrical actuator/connections.
Ensure to not overtighten the fixings.
-
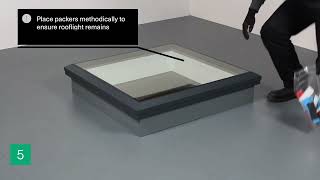
Engage Lock

Remove transport packer. With actuator pin upright, push frame down firmly. You should hear a click.
Ensure lock is engaged and cannot be lifted by hand.
-
Connect Electrics

Connect the electrics as shown on the diagrams shown on pages 4 and 5 of our Installation Guide.
This should only be completed by a suitably qualified electrician.
-
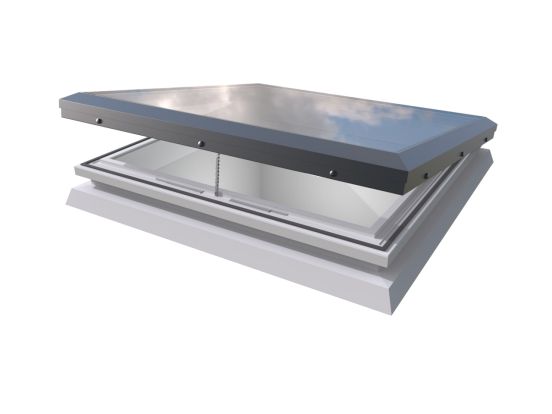
Completed Skyseal Powered Opening Flat Glass

The completed Skyseal Flat Glass comes with a 10 year warranty and requires very little maintenance, other than periodic cleaning.